> For the complete documentation index, see [llms.txt](https://docs.verifone.com/llms.txt). Markdown versions of documentation pages are available by appending `.md` to page URLs; this page is available as [Markdown](https://docs.verifone.com/hardware-products/hardware/android-devices/v640-series/v640m/640m-multi-bookshelf-charger-quick-installation-guide.md).
# 640m Multi Bookshelf Charger Quick Installation Guide
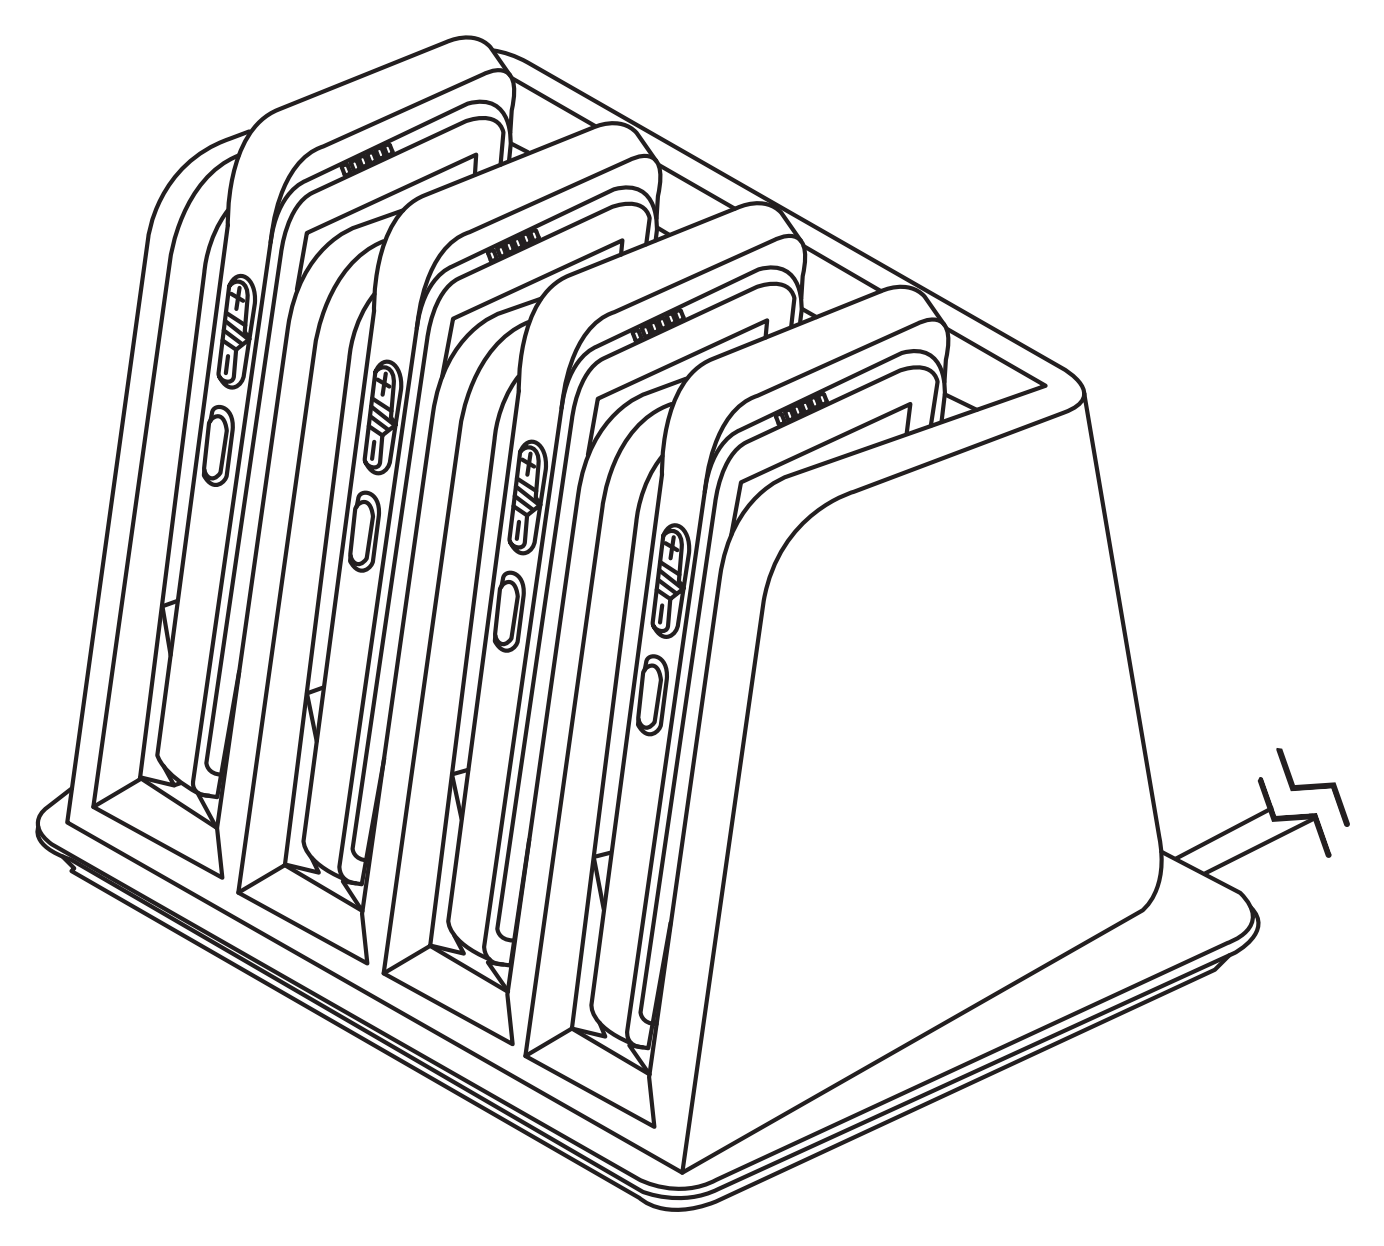
This guide walks through unboxing, assembling, and charging devices in the 640m Multi Bookshelf Charger.
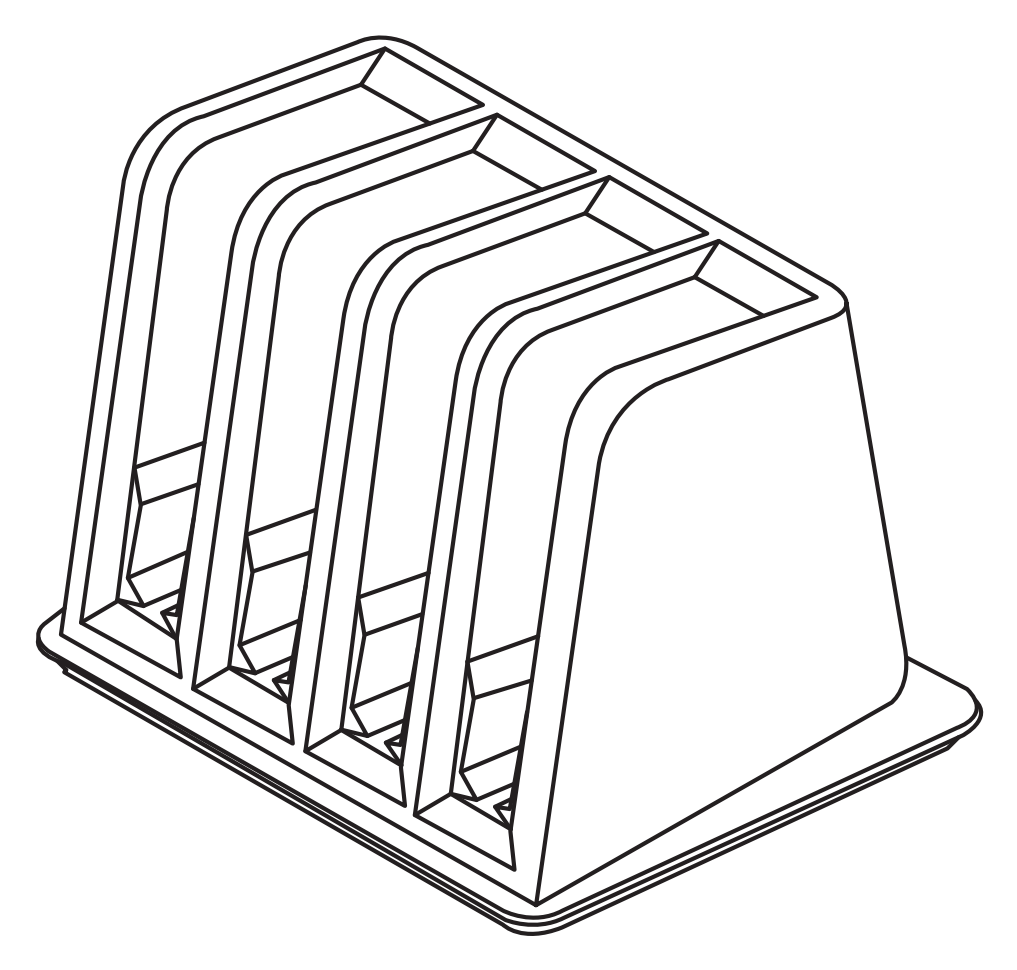
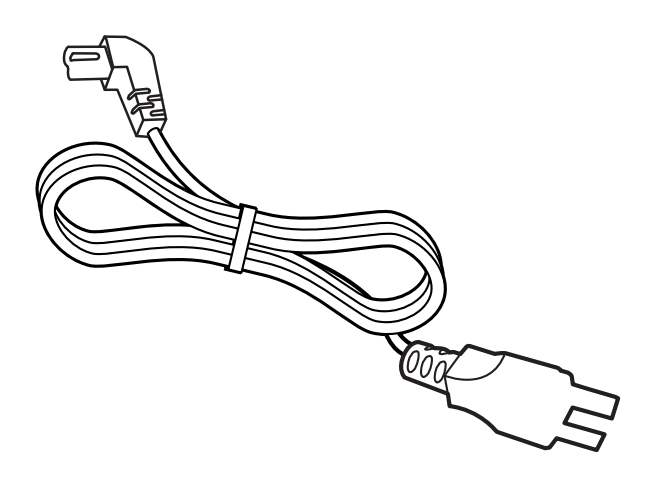
Before you begin, confirm you have all devices, cables, and accessories listed below.
## What's in the Box
## Quick Setup Guide
{% stepper %}
{% step %}
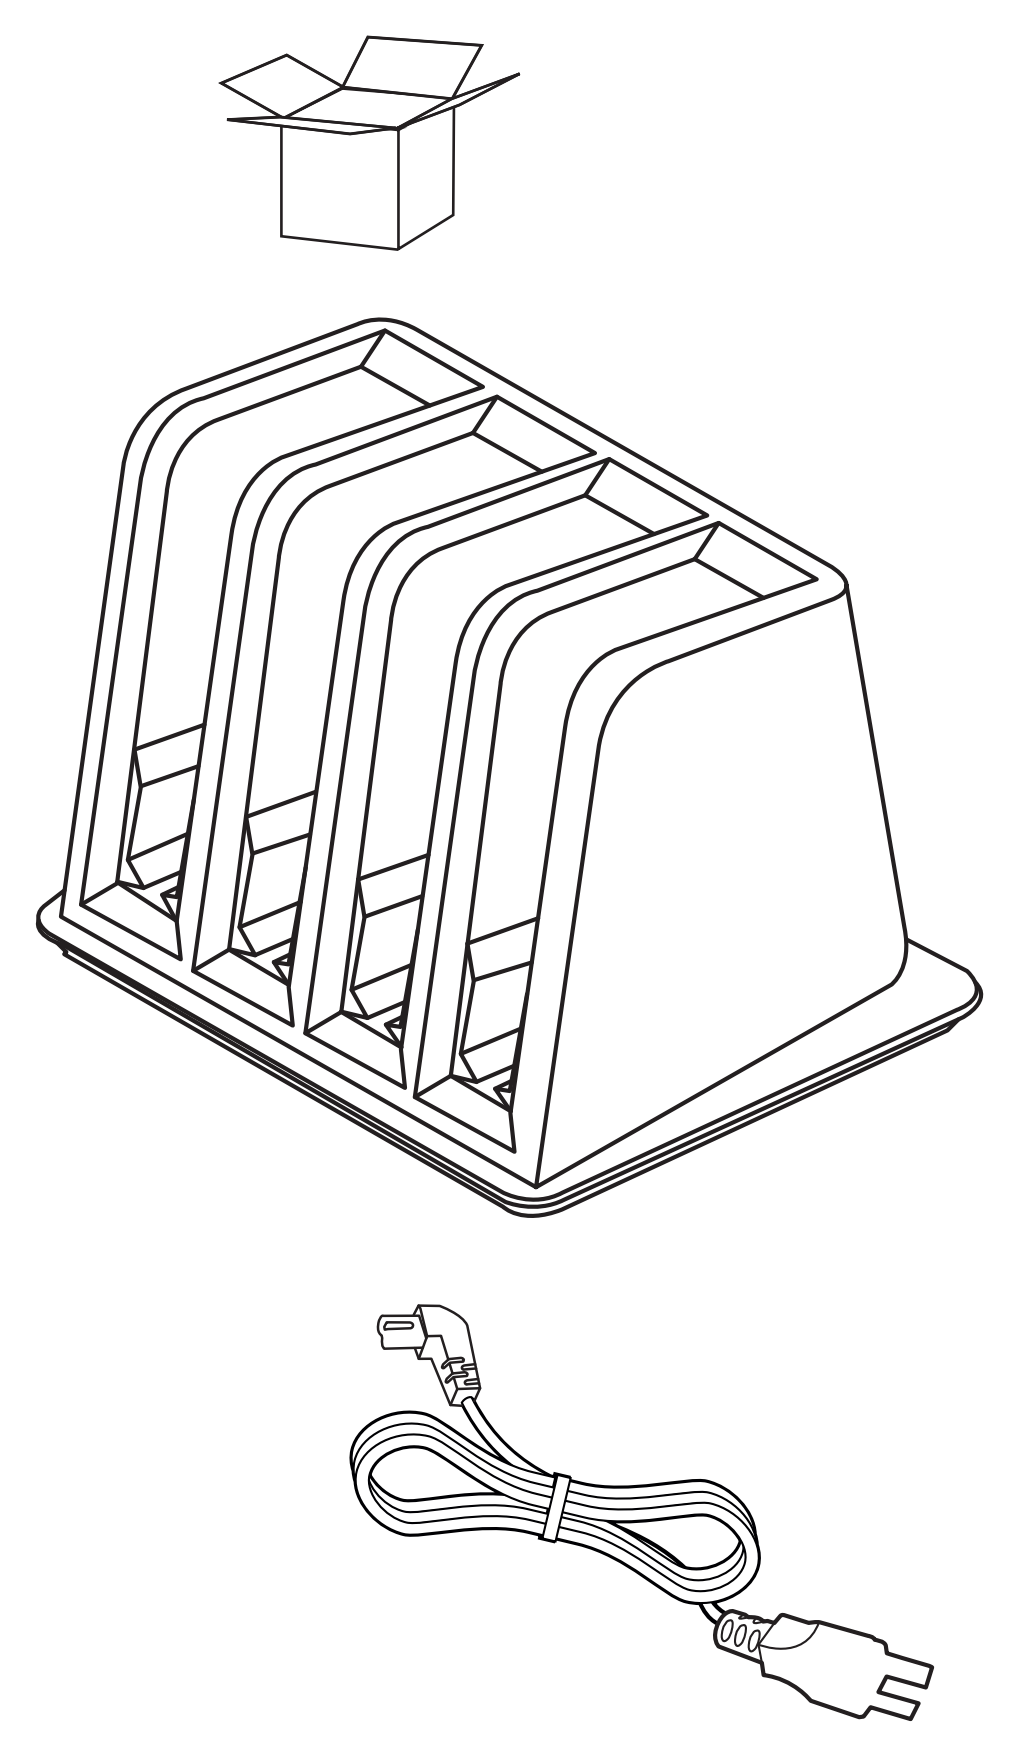
### Unbox the Charger
Remove the charger, base, and power cable from the box.
{% endstep %}
{% step %}
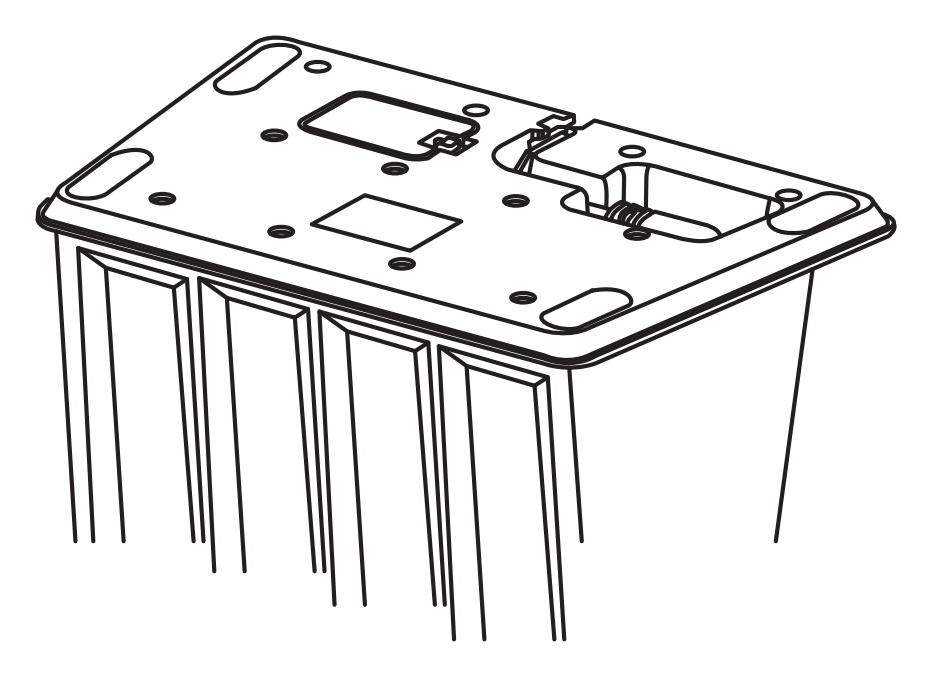
### Route the Power Cable
{% stepper %}
{% step %}
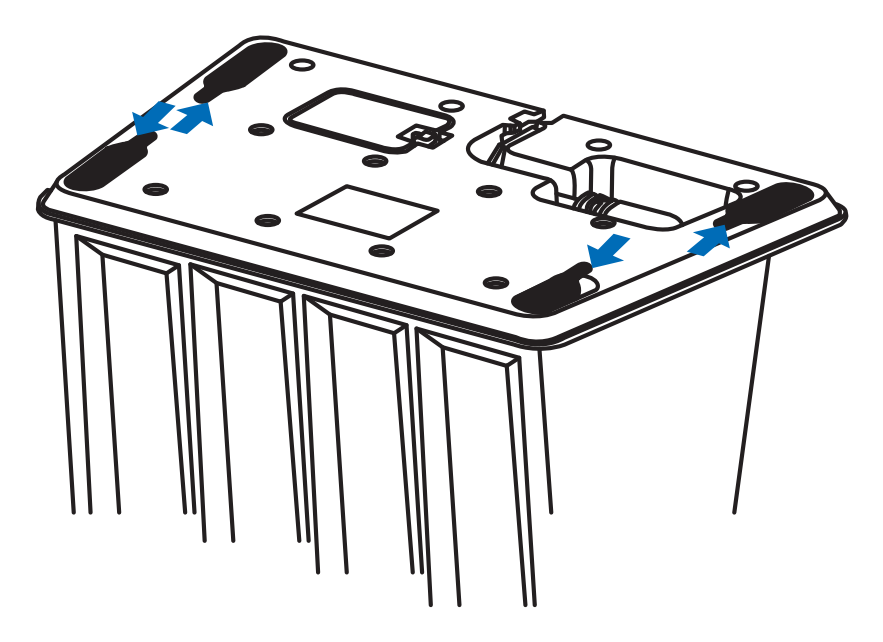
#### Secure the cable in the channel
Route the power cable through the base and secure it with the retention clips.
{% endstep %}
{% step %}
#### Cable secured
The cable is routed and secured in the base.
{% endstep %}
{% endstepper %}
{% endstep %}
{% step %}
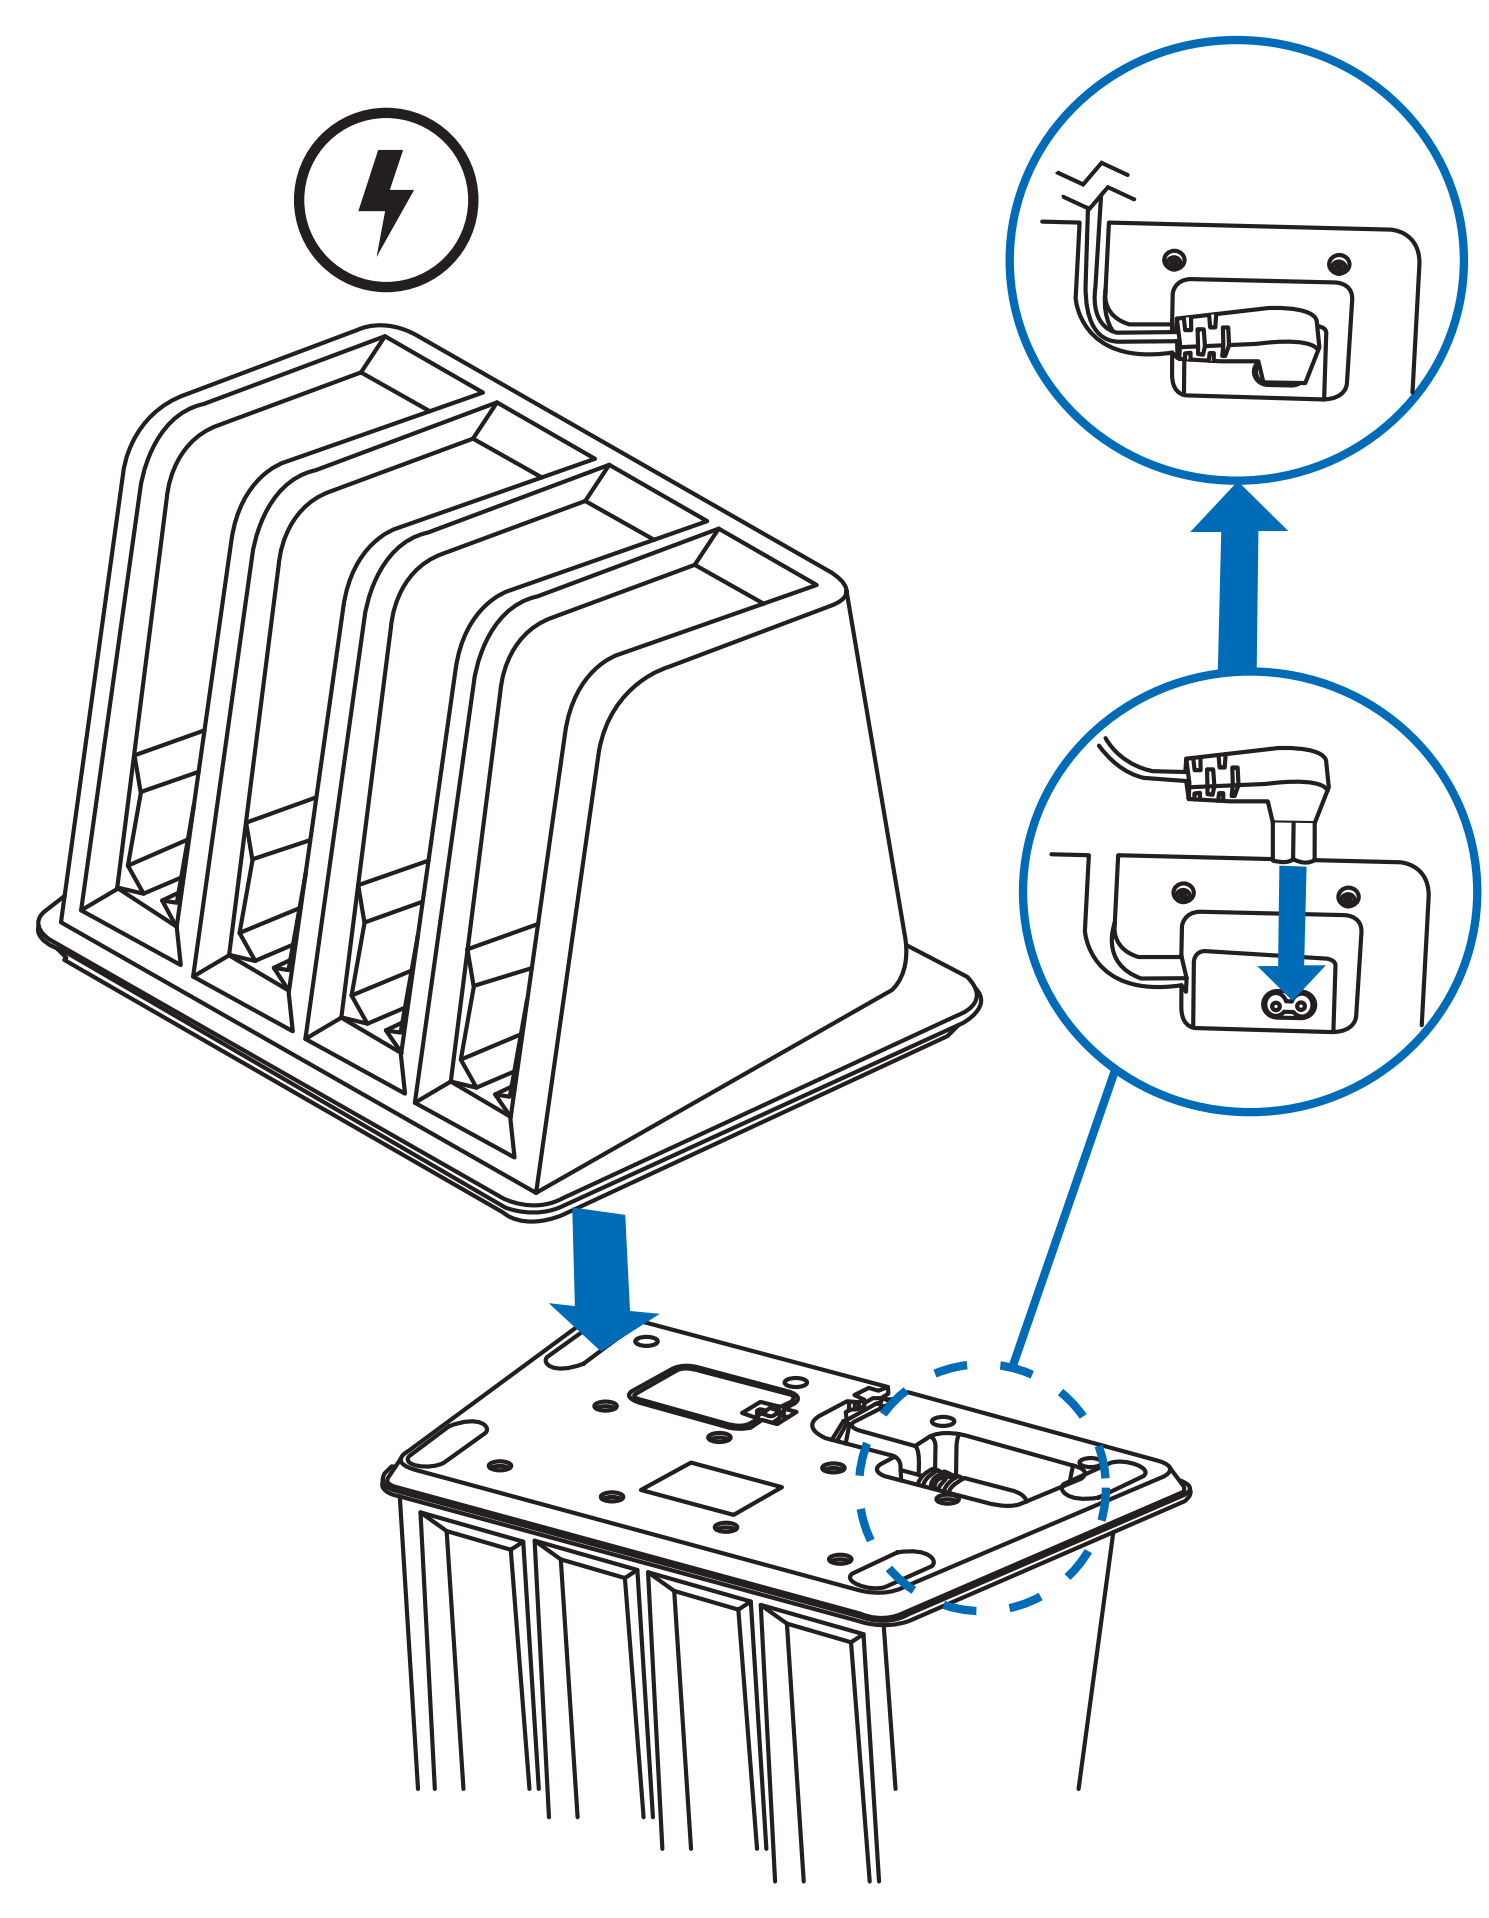
### Attach the Base
Lower the charger onto the base, aligning the power cable connector with the socket inside.
{% endstep %}
{% step %}
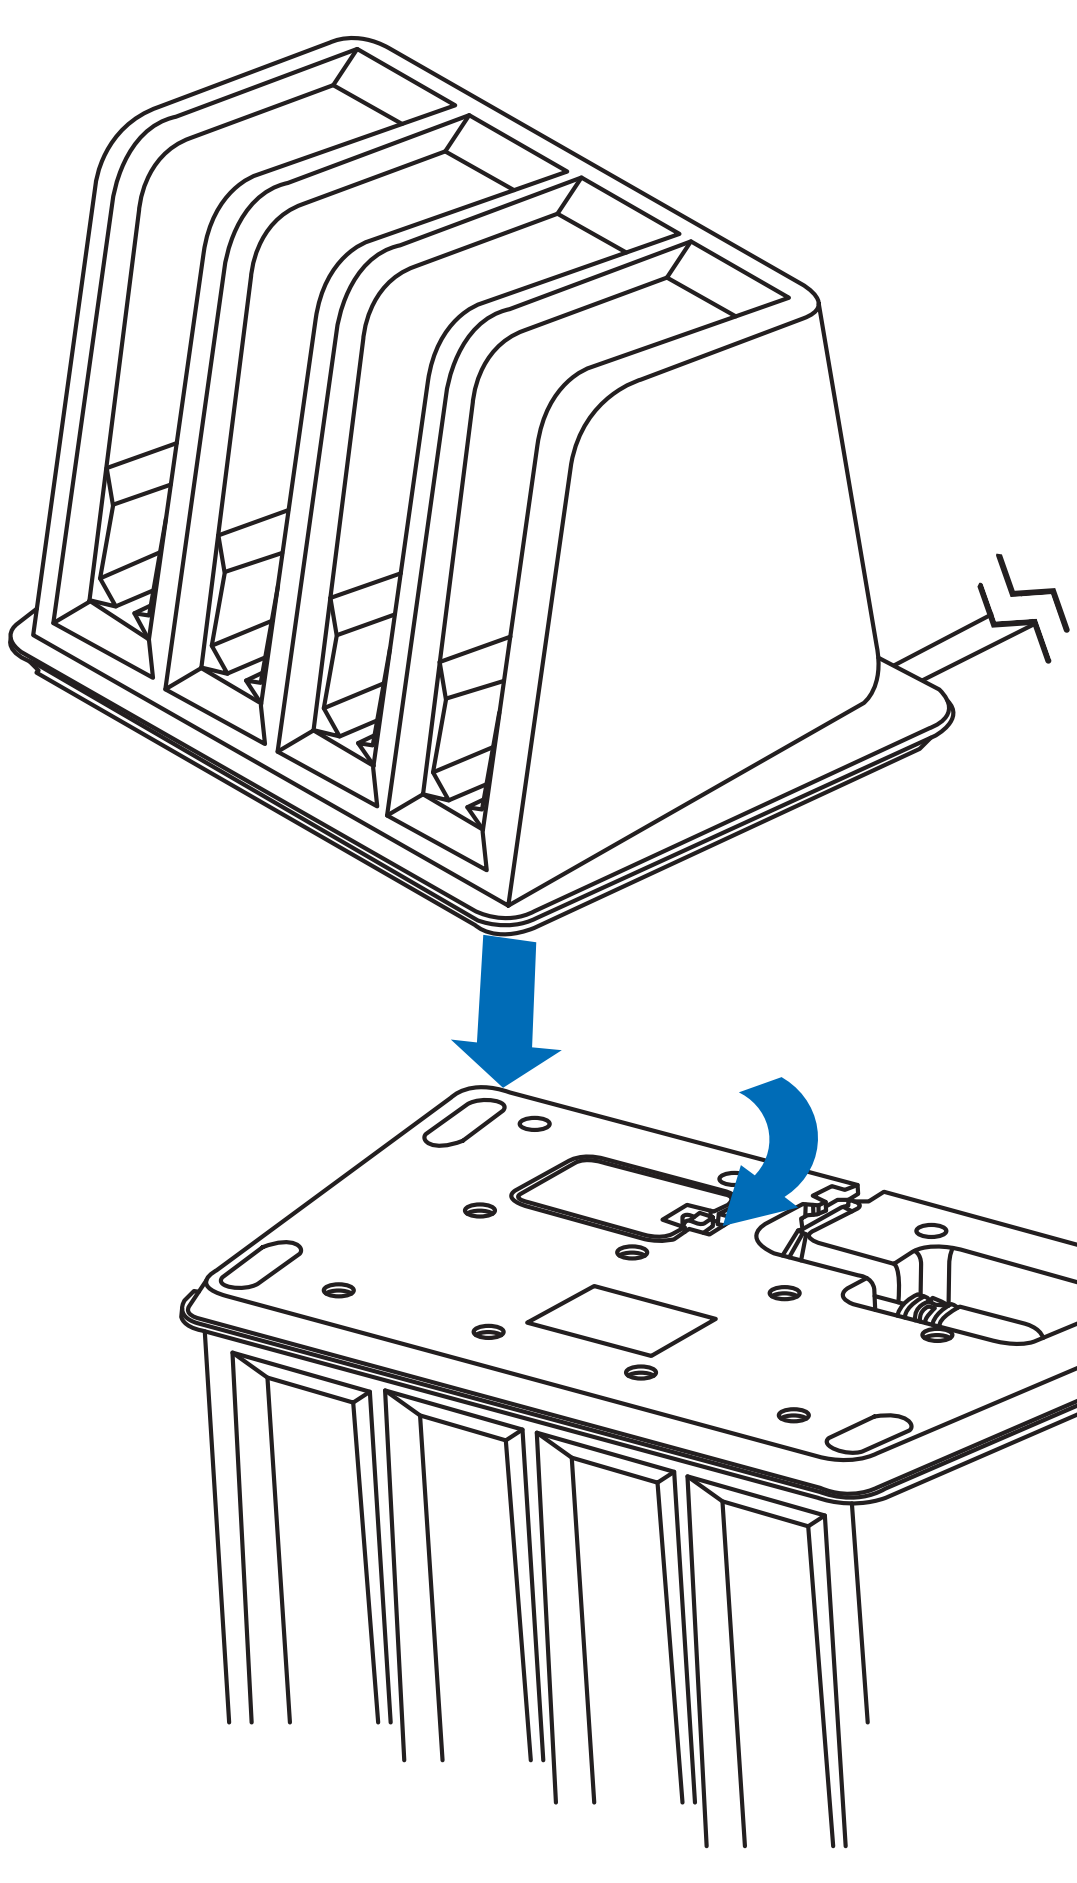
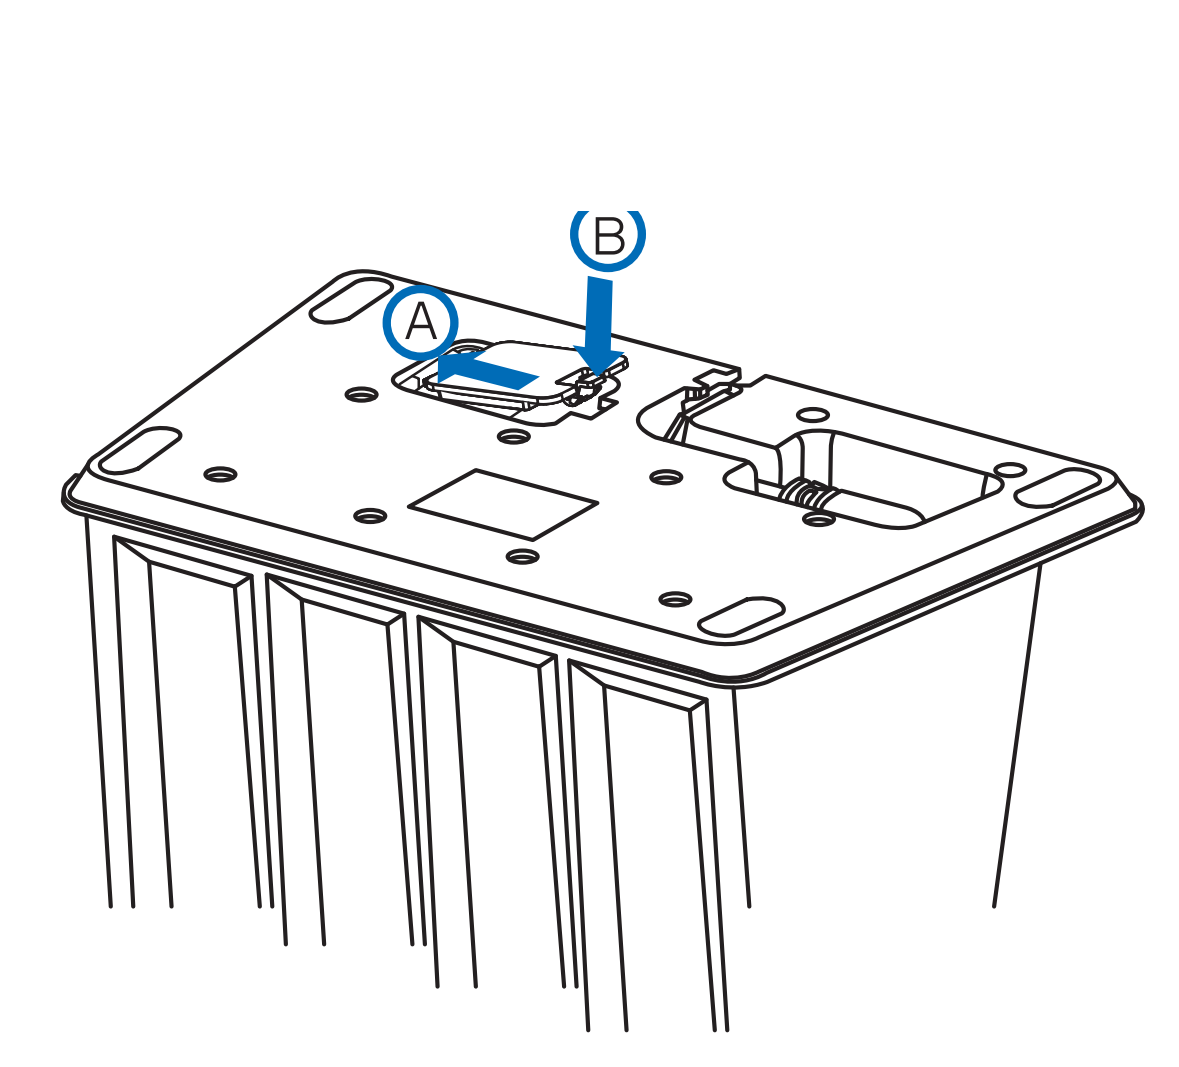
### Secure the Charger to the Base
Lower the charger onto the base, then rotate it into place to lock it on.
{% stepper %}
{% step %}
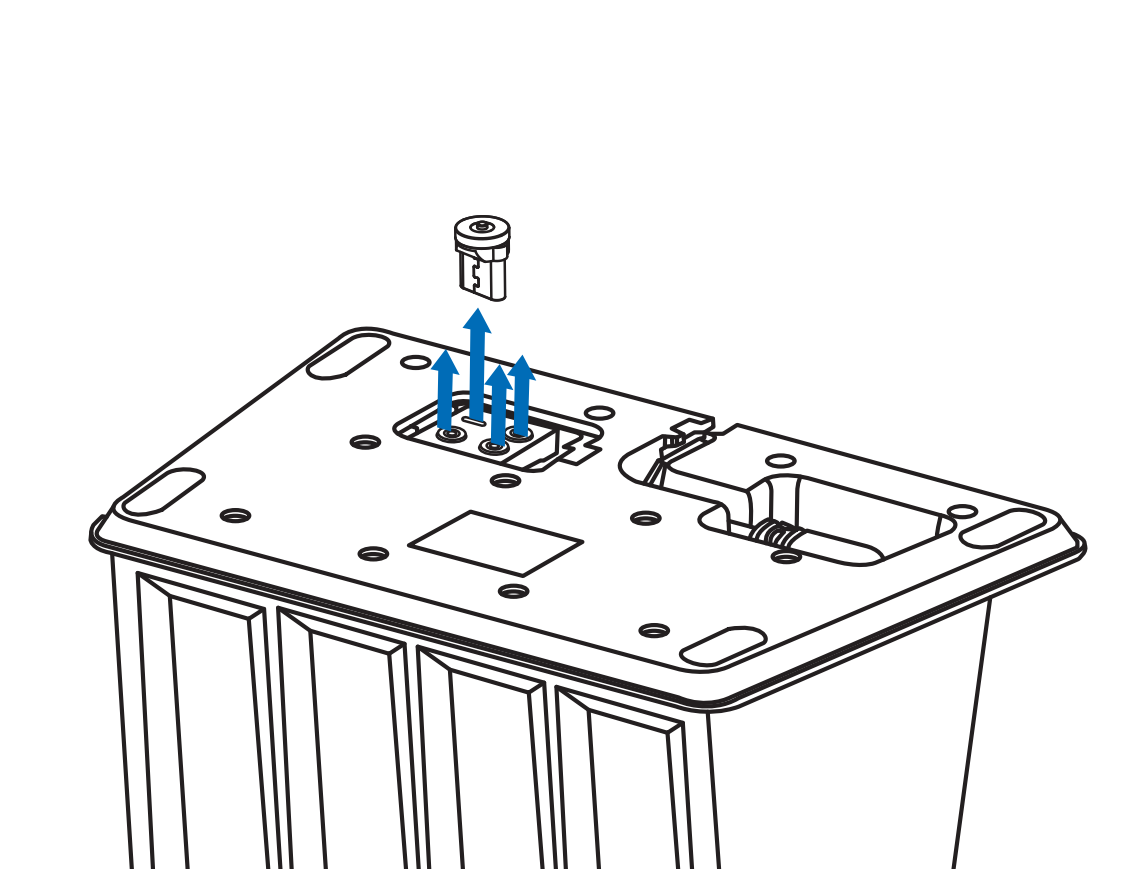
#### Insert the screw
Insert and tighten the screw to secure the charger to the base.
{% endstep %}
{% step %}
#### Confirm the latch
Confirm tabs (A) and (B) are seated correctly.
{% endstep %}
{% endstepper %}
{% endstep %}
{% step %}
### Attach the Connector
{% stepper %}
{% step %}
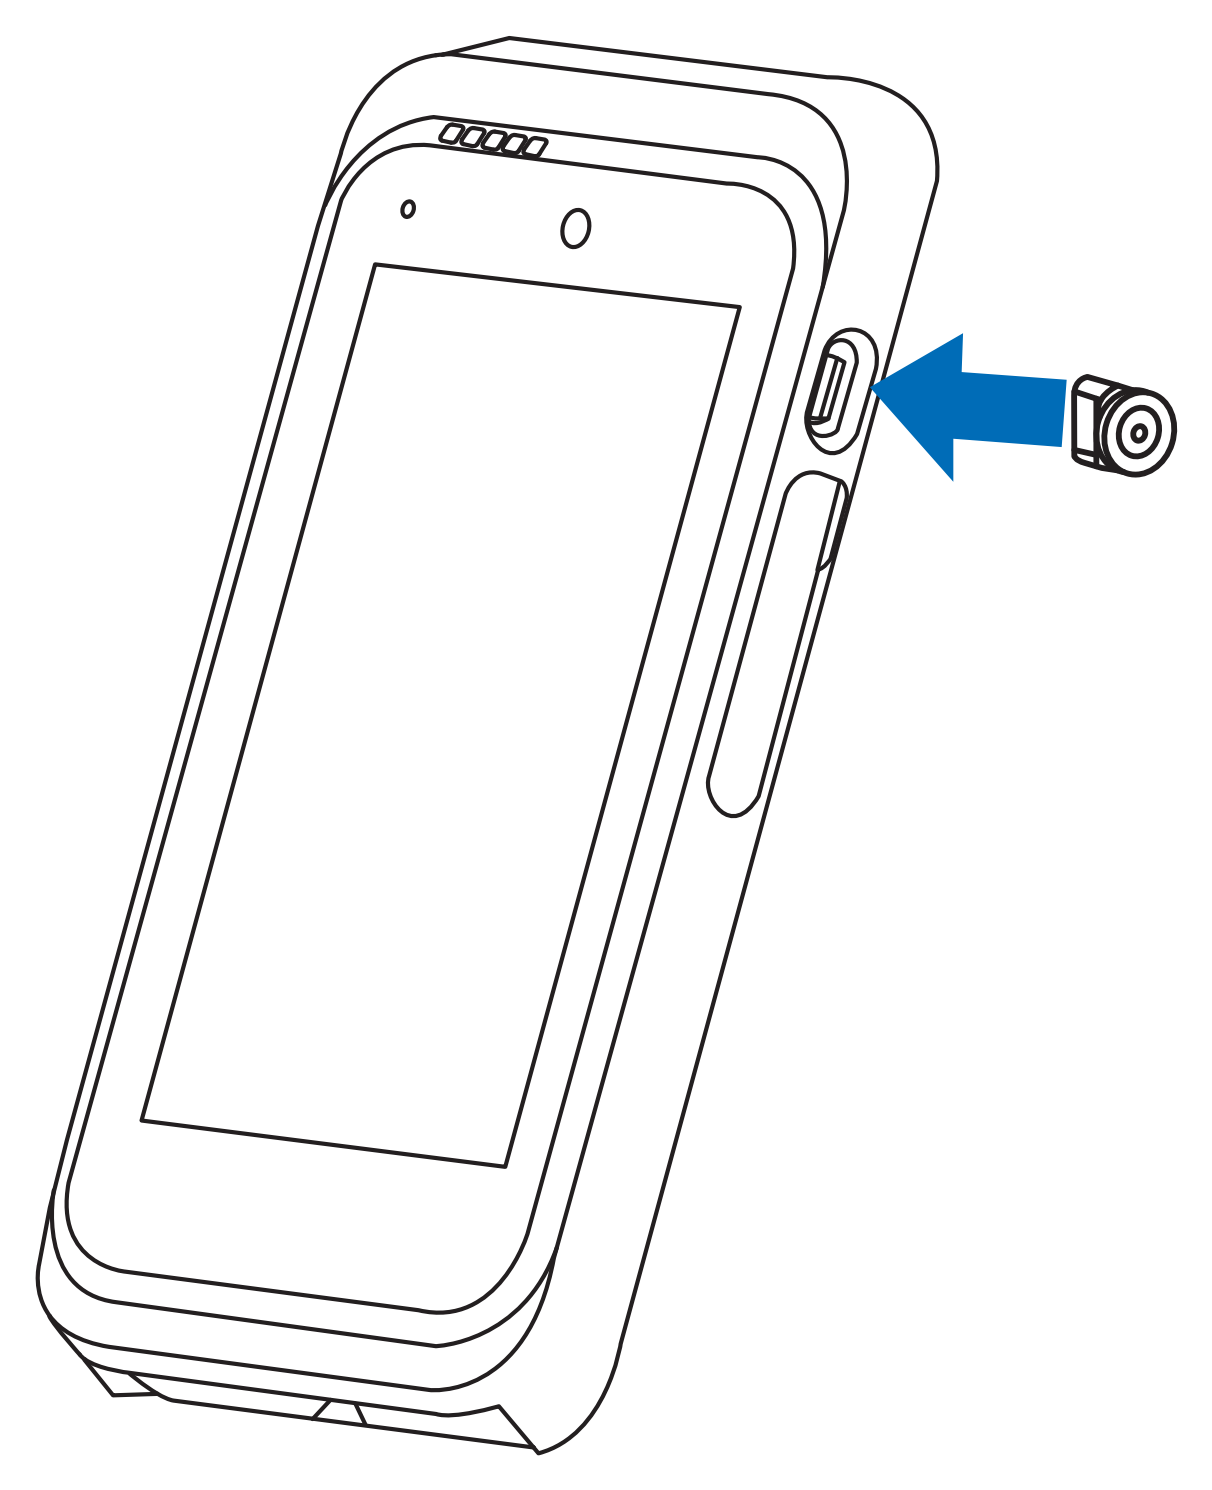
#### Attach the connector
Insert the connector into the port on the side of the device.
{% endstep %}
{% step %}
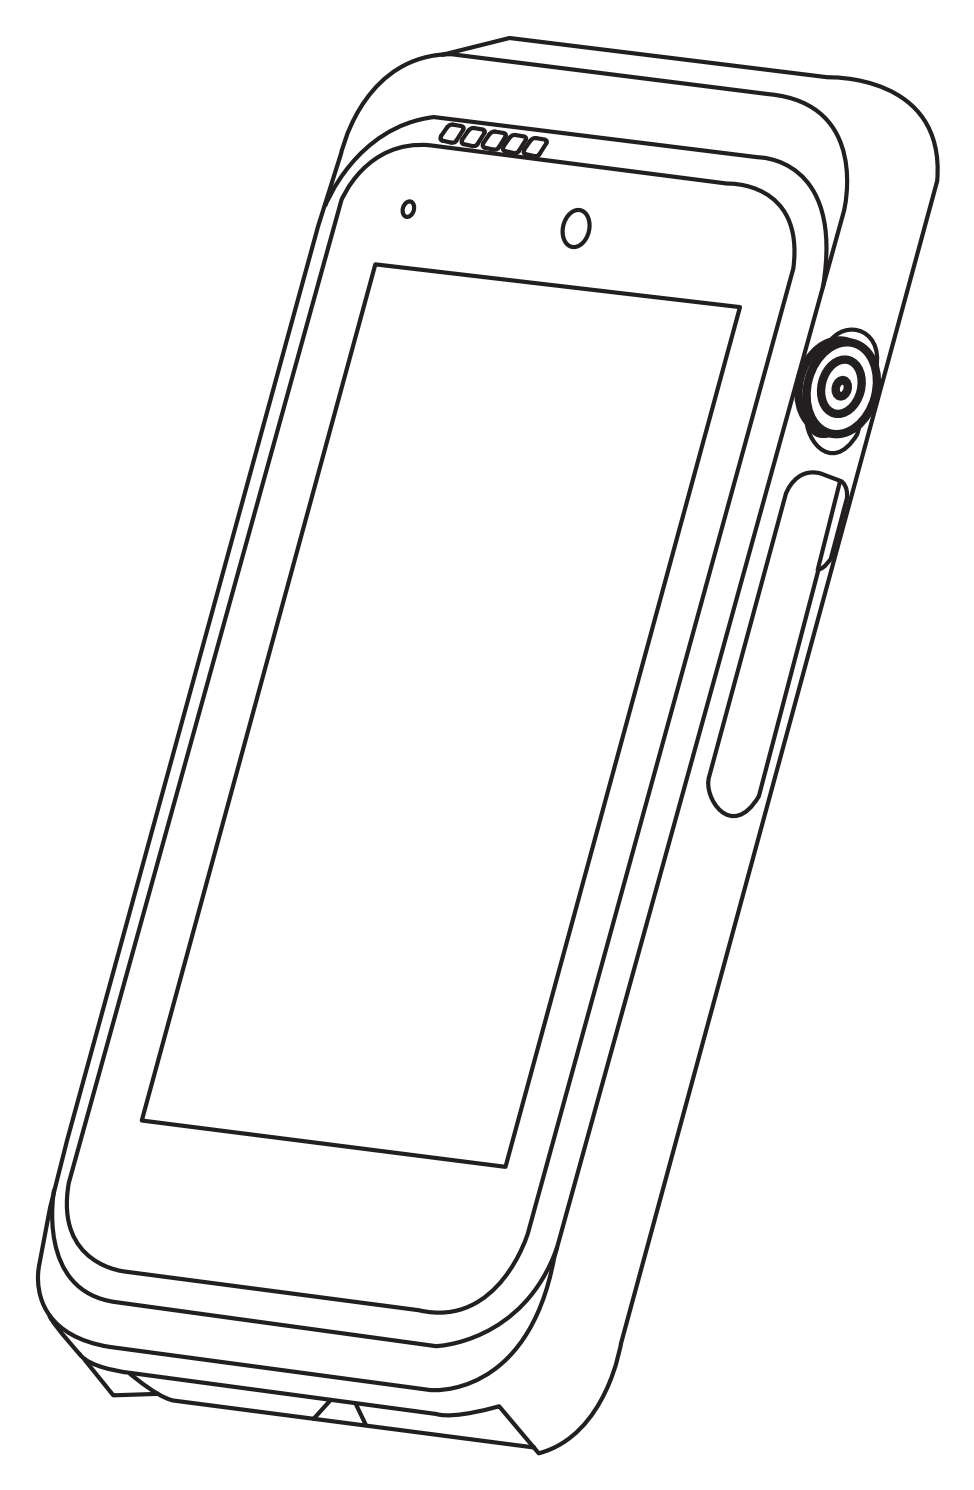
#### Connector attached
The connector is now attached to the device.
{% endstep %}
{% endstepper %}
{% endstep %}
{% step %}
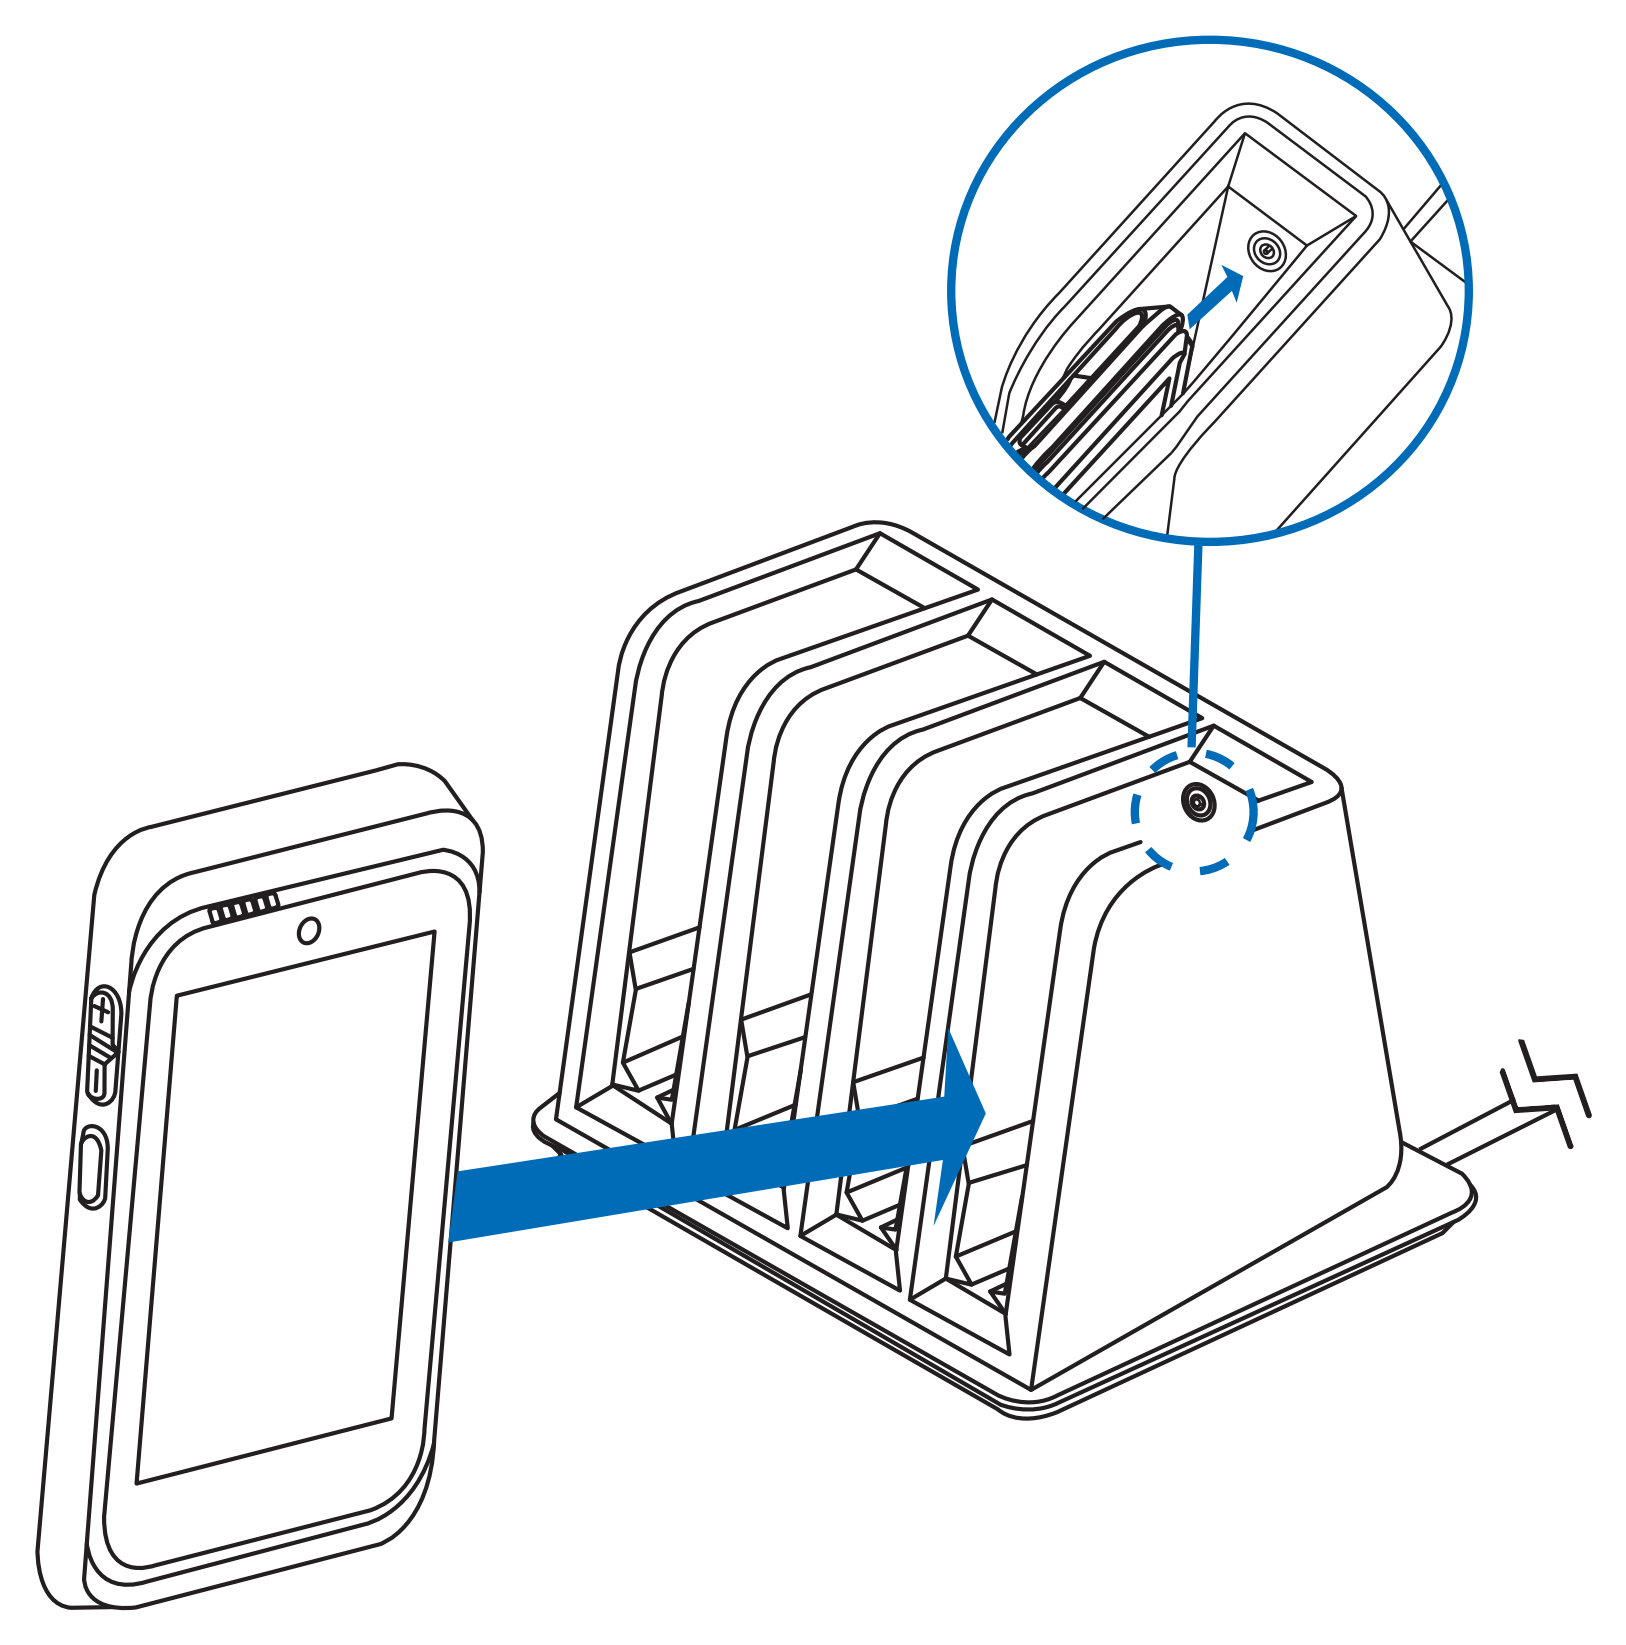
### Insert the Device into the Charger
Align the connector with the port inside the charger slot, then insert the device into the cradle.
{% endstep %}
{% step %}
### Charge the Devices
Once seated, the devices are ready to charge in the charger.
{% endstep %}
{% endstepper %}
## Full Installation Guide
For full device setup details, product information, and troubleshooting steps, refer to the product documentation on the Verifone website.
---
# Agent Instructions
This documentation is published with GitBook. GitBook is the documentation platform designed so that both humans and AI agents can read, navigate, and reason over technical content effectively. Learn more at gitbook.com.
## Querying This Documentation
If you need additional information that is not directly available in this page, you can query the documentation by asking a question.
Perform an HTTP GET request on the following URL with the `ask` and `goal` query parameters:
```
GET https://docs.verifone.com/hardware-products/hardware/android-devices/v640-series/v640m/640m-multi-bookshelf-charger-quick-installation-guide.md?ask=&goal=
```
`ask` is the immediate question: it should be specific, self-contained, and written in natural language.
`goal` is what the user is ultimately trying to achieve, the reason they need the answer. Sharing it helps GitBook give you a better, more relevant answer. A goal is most helpful when it describes the outcome the user wants rather than restating the question. For example, with `ask=how do I create an API token`, a goal like `automate deployments from our CI pipeline` lets GitBook tailor the answer to that use case.
The response will contain a direct answer to the question and relevant excerpts and sources from the documentation.
Use this mechanism when the answer is not explicitly present in the current page, you need clarification or additional context, or you want to retrieve related documentation sections.