> For the complete documentation index, see [llms.txt](https://docs.verifone.com/llms.txt). Markdown versions of documentation pages are available by appending `.md` to page URLs; this page is available as [Markdown](https://docs.verifone.com/hardware-products/hardware/engage-devices/m4xx-series/m450/m450-quick-installation-guide-v1.md).

# M450 Quick Installation Guide V1

Set up your M450 payment terminal for the first time.

Before you begin, confirm you have all devices, cables, and accessories listed below.

## What's in the Box

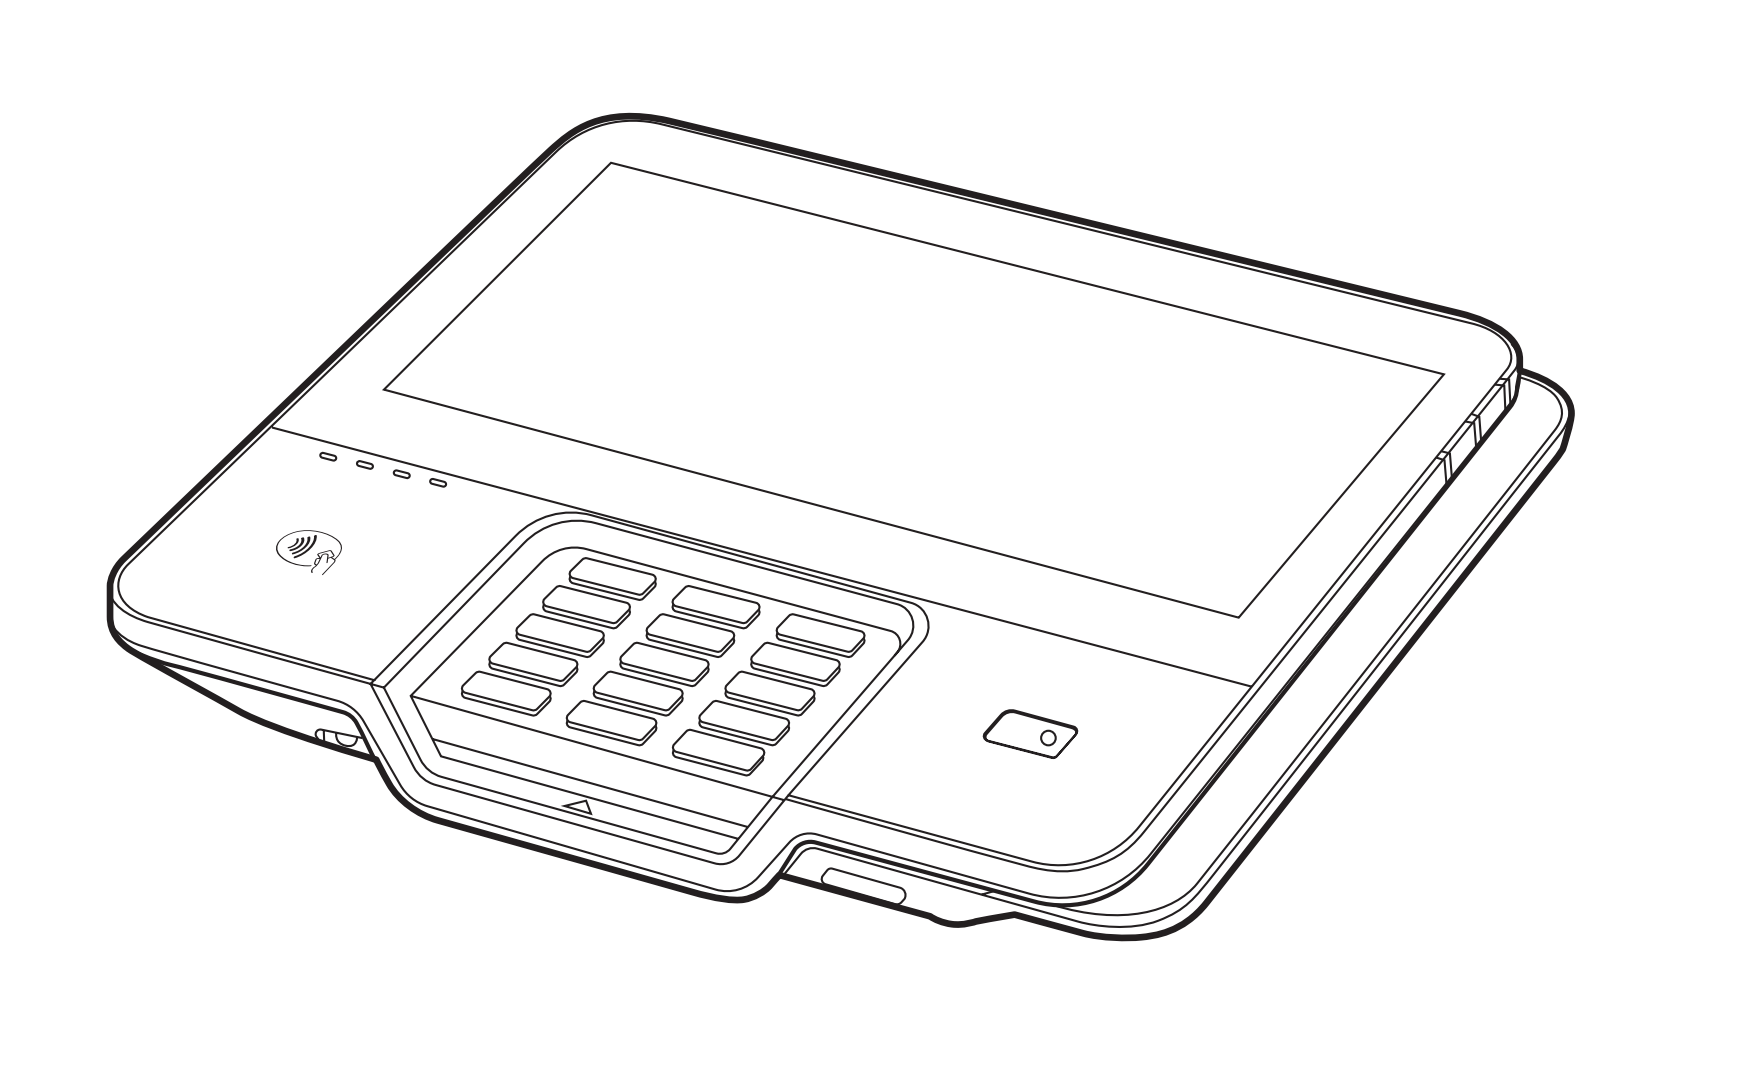
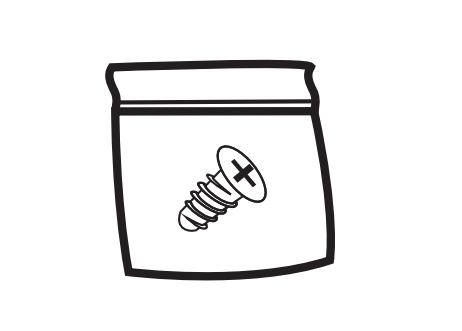
<table data-view="cards"><thead><tr><th></th><th></th><th data-hidden data-card-cover data-type="image">Cover image</th></tr></thead><tbody><tr><td><h3>M450 Terminal</h3></td><td></td><td data-object-fit="contain"><a href="https://content.gitbook.com/content/kxOil1YNUno7kCEUA3XZ/blobs/tSGad8ddhRZXkcEHIJZg/.gitbook/assets/cover.png">.gitbook/assets/cover.png</a></td></tr><tr><td><h3>Screw</h3></td><td></td><td data-object-fit="contain"><a href="https://content.gitbook.com/content/kxOil1YNUno7kCEUA3XZ/blobs/iD6PczHgT1miFSfcBCDT/.gitbook/assets/box-screw.png">.gitbook/assets/box-screw.png</a></td></tr></tbody></table>

## Quick Setup Guide

{% stepper %}
{% step %}

### Unbox the Terminal

Remove the M450 terminal and the included screw from the box.

<figure><img src="https://142576632-files.gitbook.io/~/files/v0/b/gitbook-x-prod.appspot.com/o/spaces%2FkxOil1YNUno7kCEUA3XZ%2Fuploads%2FLUlsMQ1urGg6LGXwXNGz%2Fstep-1%20(1).png?alt=media&amp;token=769095d3-6924-41c5-9b22-b22a836b1c94" alt="" width="375"><figcaption><p>Figure 1: The M450 terminal and included screw</p></figcaption></figure>
{% endstep %}

{% step %}

### Insert the PSAM and SD Cards

Open the back cover and insert cards into the labeled slots.

{% stepper %}
{% step %}

#### Remove the back cover

Slide the back cover off in the direction of the arrow.

<figure><img src="https://142576632-files.gitbook.io/~/files/v0/b/gitbook-x-prod.appspot.com/o/spaces%2FkxOil1YNUno7kCEUA3XZ%2Fuploads%2Fmt8JJgVQTOSORgM2cWEd%2Fstep-2-1.png?alt=media&amp;token=abbcf93b-16d7-4c69-9892-5dccf131cb43" alt="" width="375"><figcaption><p>Figure 2: Removing the back cover</p></figcaption></figure>
{% endstep %}

{% step %}

#### Insert the cards

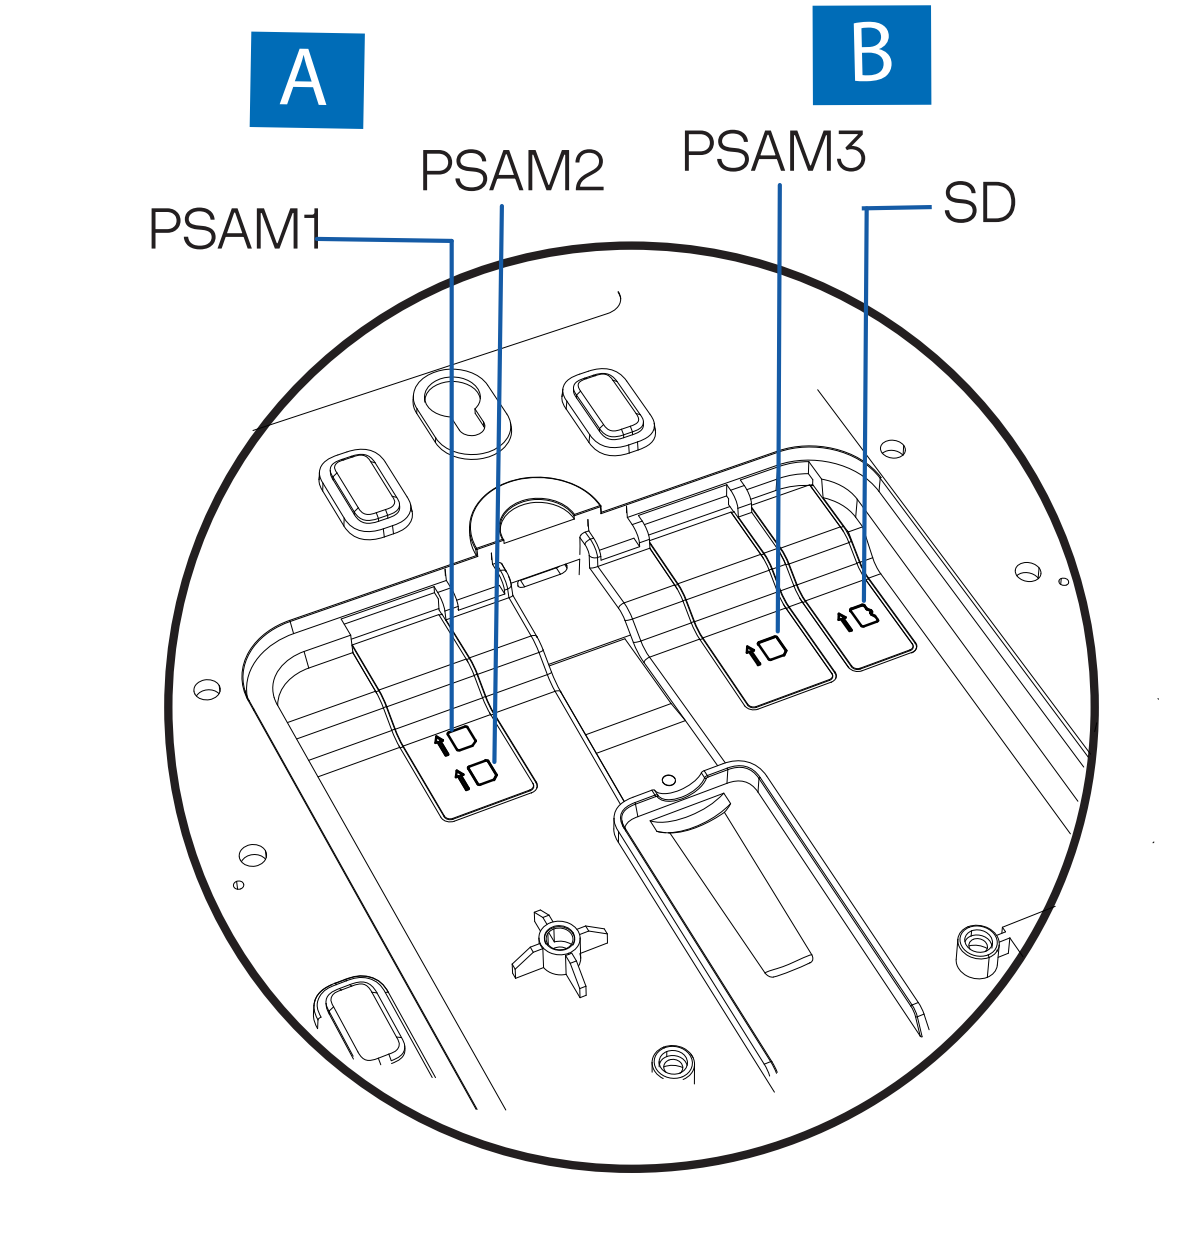
Insert cards into the slots at (A) — PSAM1 and PSAM2 — and (B) — PSAM3 and SD.

<figure><img src="https://142576632-files.gitbook.io/~/files/v0/b/gitbook-x-prod.appspot.com/o/spaces%2FkxOil1YNUno7kCEUA3XZ%2Fuploads%2FxyM9KUH5Zn3aw97VViGm%2Fstep-2-2.png?alt=media&amp;token=0da9558b-f8e9-4ef5-8892-cd7e7cde4e08" alt="" width="375"><figcaption><p>Figure 3: Card slot regions (A) and (B)</p></figcaption></figure>

<figure><img src="https://content.gitbook.com/content/kxOil1YNUno7kCEUA3XZ/blobs/OiA4Z1k8ZmSTboqUv2lb/.gitbook/assets/step-2-2-detail.png" alt="" width="375"><figcaption><p>Figure 4: Detail of the PSAM1, PSAM2, PSAM3, and SD slots</p></figcaption></figure>
{% endstep %}
{% endstepper %}
{% endstep %}

{% step %}

### Connect the Power Cable

Route the power cable to the device and plug it into a power outlet.

{% stepper %}
{% step %}

#### Connect the cable

Route the power cable through the back cover and insert the connector into the device (A). Connect the cable to the power supply (C), then plug the power supply into a power outlet.

<figure><img src="https://142576632-files.gitbook.io/~/files/v0/b/gitbook-x-prod.appspot.com/o/spaces%2FkxOil1YNUno7kCEUA3XZ%2Fuploads%2FRqMzaHBsAtgoXQwVhgre%2Fstep-3-1-overview%20(1).png?alt=media&amp;token=d12cd37c-3452-428c-9322-834916eb6e21" alt="" width="375"><figcaption><p>Figure 5: Connecting the power cable to the device and power outlet</p></figcaption></figure>

<figure><img src="https://142576632-files.gitbook.io/~/files/v0/b/gitbook-x-prod.appspot.com/o/spaces%2FkxOil1YNUno7kCEUA3XZ%2Fuploads%2FcD85qkIlriVp8hLmtFIo%2Fstep-3-1%20(1).png?alt=media&amp;token=03f45c13-4b6f-4e30-afa4-f346b7d0bd58" alt="" width="375"><figcaption><p>Figure 6: Close-up of the power connector (B)</p></figcaption></figure>
{% endstep %}

{% step %}

#### Reattach the back cover

Slide the back cover into place (A) and secure it with the screw (B).

<figure><img src="https://142576632-files.gitbook.io/~/files/v0/b/gitbook-x-prod.appspot.com/o/spaces%2FkxOil1YNUno7kCEUA3XZ%2Fuploads%2Fr9iN8YN3FsVyJyH0zaKG%2Fstep-3-2%20(1).png?alt=media&amp;token=90e975e0-e163-49ff-afae-dda621722698" alt=""><figcaption><p>Figure 7: Reattaching the back cover</p></figcaption></figure>
{% endstep %}
{% endstepper %}
{% endstep %}

{% step %}

### Power On the Terminal

Press and hold the power button for 3 seconds.

<figure><img src="https://142576632-files.gitbook.io/~/files/v0/b/gitbook-x-prod.appspot.com/o/spaces%2FkxOil1YNUno7kCEUA3XZ%2Fuploads%2F4Y9TlPkpzxw2k1TZ6dXY%2Fstep-4%20(1).png?alt=media&amp;token=d631dcb4-f5ad-45d9-8759-120660c4164e" alt="" width="375"><figcaption><p>Figure 8: Power button location</p></figcaption></figure>
{% endstep %}

{% step %}

### Connect to Wi-Fi or Bluetooth

Connect the terminal to a Wi-Fi network or pair it with a phone over Bluetooth.

<figure><img src="https://142576632-files.gitbook.io/~/files/v0/b/gitbook-x-prod.appspot.com/o/spaces%2FkxOil1YNUno7kCEUA3XZ%2Fuploads%2Fi64aQkiurl7dsmi4V1kY%2Fstep-5.png?alt=media&amp;token=81674d69-9752-415a-8d10-9b85dc431ddf" alt="" width="375"><figcaption><p>Figure 9: Wi-Fi and Bluetooth connections</p></figcaption></figure>
{% endstep %}

{% step %}

### Connect Headphones or a Speaker

The terminal has a headphone port and a speaker port on the front edge.

<figure><img src="https://142576632-files.gitbook.io/~/files/v0/b/gitbook-x-prod.appspot.com/o/spaces%2FkxOil1YNUno7kCEUA3XZ%2Fuploads%2F49fFstYqZfJzdBf91FOd%2Fstep-6%20(1).png?alt=media&amp;token=7c2c111b-603f-4514-9ed7-0e0495159b87" alt="" width="375"><figcaption><p>Figure 10: Headphone and speaker ports</p></figcaption></figure>
{% endstep %}

{% step %}

### Take a Payment

Accept a payment using any of the following methods.

{% stepper %}
{% step %}

#### Swipe

Swipe the customer's card through the side card reader.

<figure><img src="https://142576632-files.gitbook.io/~/files/v0/b/gitbook-x-prod.appspot.com/o/spaces%2FkxOil1YNUno7kCEUA3XZ%2Fuploads%2FYOQp3fUrg3VQux5fGcJb%2Fstep-7-1%20(1).png?alt=media&amp;token=41000579-d0b3-47c4-97e4-f45db5fb33d3" alt="" width="375"><figcaption><p>Figure 11: Swiping a card</p></figcaption></figure>
{% endstep %}

{% step %}

#### Insert

Insert the customer's chip card into the card reader.

<figure><img src="https://142576632-files.gitbook.io/~/files/v0/b/gitbook-x-prod.appspot.com/o/spaces%2FkxOil1YNUno7kCEUA3XZ%2Fuploads%2FvJQ9bKzLkQSfCZkJ5i2e%2Fstep-7-3%20(1).png?alt=media&amp;token=36de6345-5bd7-4777-94a2-b499f5828092" alt="" width="375"><figcaption><p>Figure 13: Tapping a contactless card</p></figcaption></figure>
{% endstep %}

{% step %}

#### Tap

Tap the customer's contactless card or device on the screen.
{% endstep %}
{% endstepper %}
{% endstep %}
{% endstepper %}

<figure><img src="https://142576632-files.gitbook.io/~/files/v0/b/gitbook-x-prod.appspot.com/o/spaces%2FkxOil1YNUno7kCEUA3XZ%2Fuploads%2FjkMku1C0iElNUjImlmHh%2Fstep-7-2%20(1).png?alt=media&amp;token=8a964964-e145-4f14-bda8-a7686ec278cc" alt="" width="375"><figcaption><p>Figure 12: Inserting a chip card</p></figcaption></figure>

## Full Installation Guide

For full device setup details, product information, and troubleshooting steps, refer to the [M450 Installation Guide](/hardware-products/hardware/engage-devices/m4xx-series/m450/m450-installation-guide.md).


---

# Agent Instructions
This documentation is published with GitBook. GitBook is the documentation platform designed so that both humans and AI agents can read, navigate, and reason over technical content effectively. Learn more at gitbook.com.

## Querying This Documentation
If you need additional information that is not directly available in this page, you can query the documentation dynamically by asking a question.

Perform an HTTP GET request on the current page URL with the `ask` query parameter, and the optional `goal` query parameter:

```
GET https://docs.verifone.com/hardware-products/hardware/engage-devices/m4xx-series/m450/m450-quick-installation-guide-v1.md?ask=<question>&goal=<endgoal>
```

`ask` is the immediate question: it should be specific, self-contained, and written in natural language.
`goal` is optional and describes the broader end goal you are ultimately trying to accomplish on behalf of the user. GitBook uses it to tailor the answer towards what is most useful for that goal.

The response will contain a direct answer to the question and relevant excerpts and sources from the documentation.

Use this mechanism when the answer is not explicitly present in the current page, you need clarification or additional context, or you want to retrieve related documentation sections.